

How to Make an LED Sign Board Step by Step with Materials
Creating an LED sign board is one of the best ways to enhance brand visibility. These signs attract every customers, deliver strong lighting performance, and elevate business identity. Although professional sign makers handle installation, understanding the process helps you choose materials wisely. This step-by-step guide explains how LED sign boards are made using essential materials and industry techniques.
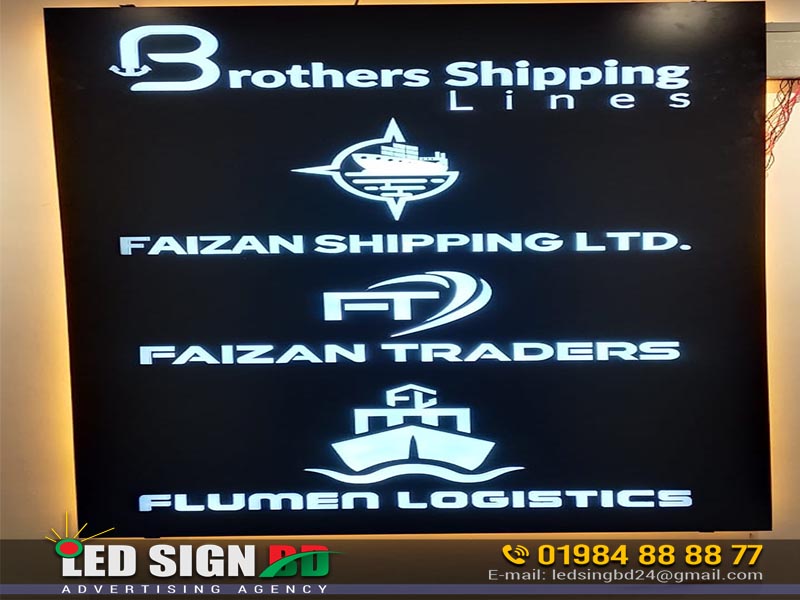
What Is an LED Sign Board?
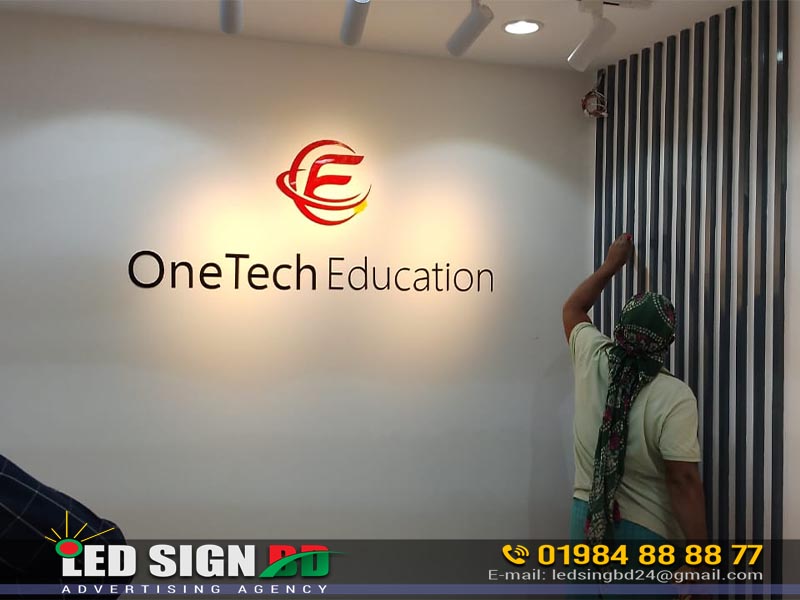
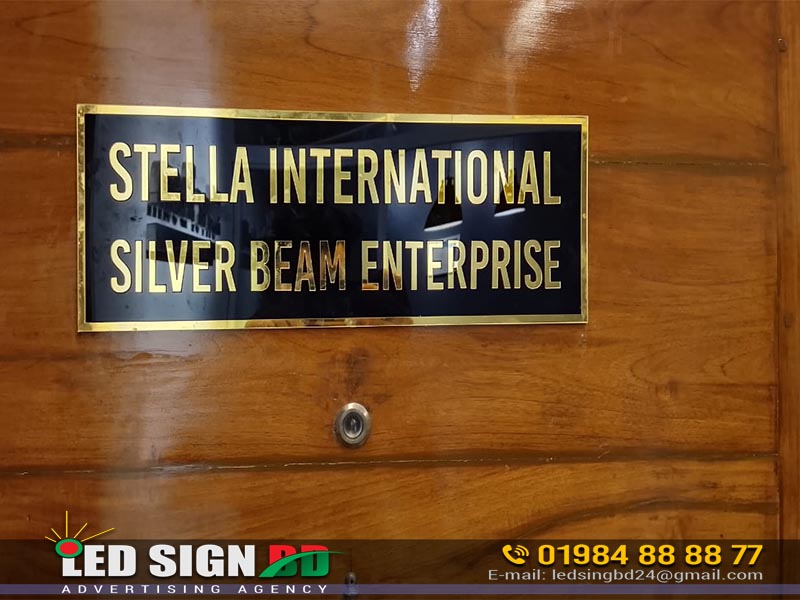
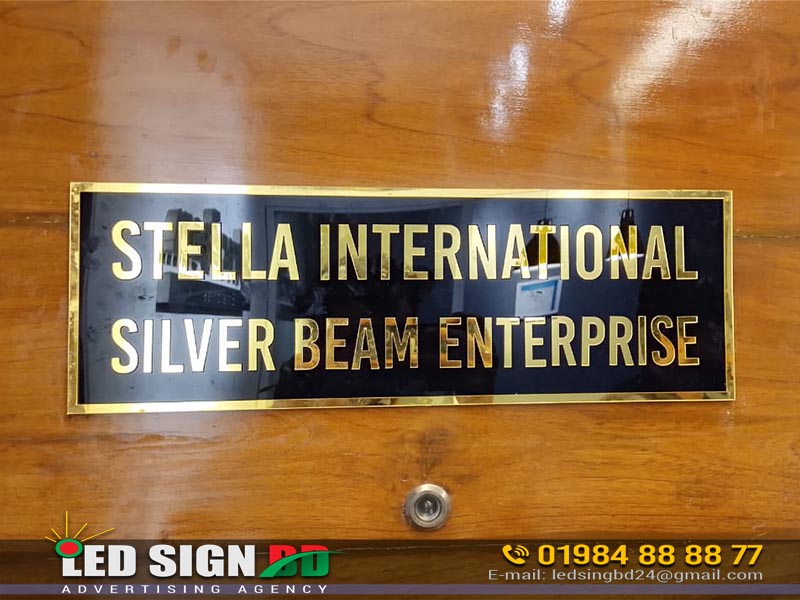
An LED sign board is a lighted display that uses LED modules or strips inside acrylic letters or panels. These signs shine brightly, last long, and consume less energy. Due to their durability, businesses prefer them for shops, offices, restaurants, and commercial spaces.
Materials Needed to Make an LED Sign Board
Using the right materials ensures long-lasting performance. Here are the most common items used by professional sign makers:
Acrylic sheet for letters or front panels
PVC or ACP sheet used as a backboard
LED modules or LED strips
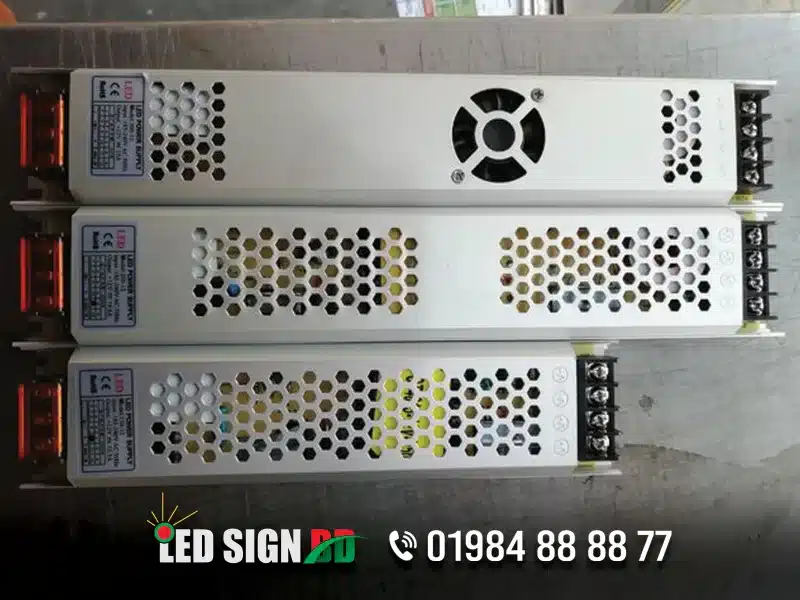
12V LED power supply
High-bond double-sided tape
Silicone adhesive
Premium vinyl sticker or printed sheet
Wires for electricity connection
Insulation tape or heat shrink tube
Screws and metal frame (optional for larger boards)
Tools Used in the LED Sign Board Process
Professionals use tools to cut and assemble the sign. The most common tools include:
Laser cutting machine
Drill machine
Wire cutter
Soldering tools
Screwdrivers
Scale and measuring tape
These tools allow accurate cutting and safe electrical setups. Young users should avoid handling electrical tools and leave installation to trained adults.
Step-by-Step Guide to Making an LED Sign Board
Step 1: Plan the Design – Start with proper measurements and a digital design. Use software like Illustrator or CorelDRAW. Choose letter styles, colors, lighting style, and board size. A strong design helps create a perfect layout.
Step 2: Prepare the Backboard – Cut an ACP or PVC sheet based on your design size. Clean the surface before applying vinyl. Add background color or branding stickers to give the board a polished look.
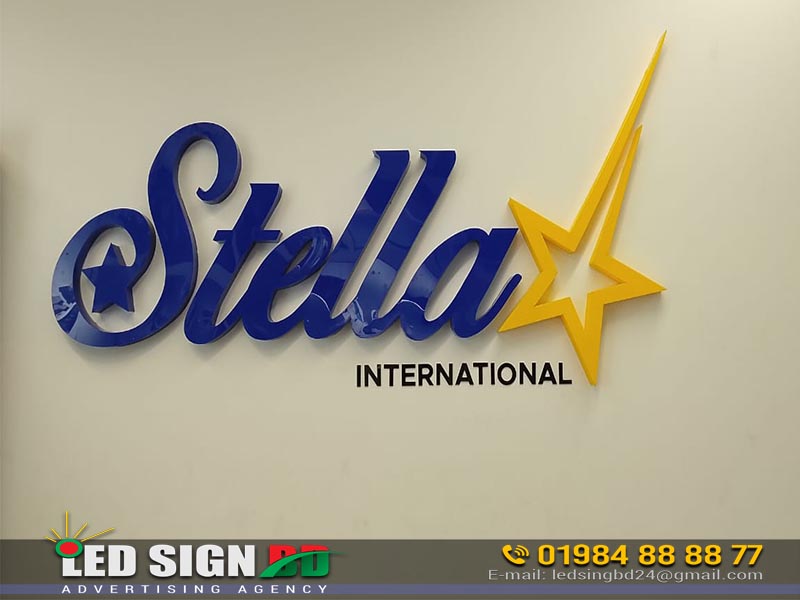
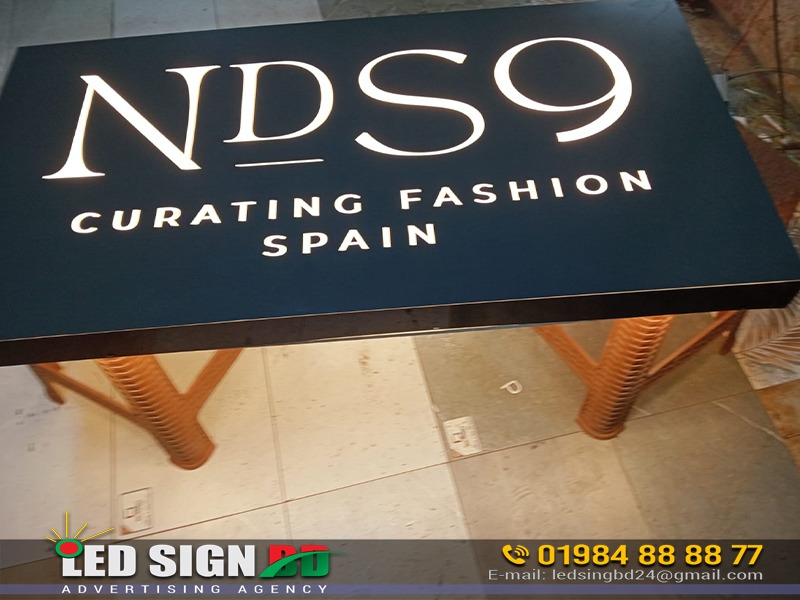
Step 3: Cut the Acrylic Letters – Laser cutting machines cut acrylic into clean shapes. Prepare the top acrylic layer and side panels if making 3D letters. Smooth the edges for better finishing. Acrylic letters create sharp illumination when paired with LED modules.
Step 4: Set Up Internal LED Lighting – Place LED modules inside each 3D letter. Maintain equal spacing to ensure uniform brightness. Connect the wires using correct polarity. Insulate each joint with tape or heat shrink. This step ensures a safe lighting system.
Step 5: Connect the Power Supply – Attach the 12V LED driver to the board. Connect all LED modules to the power source. Keep wiring organized for safety. A qualified adult should handle electrical connections. Stable power ensures long-term lighting performance.
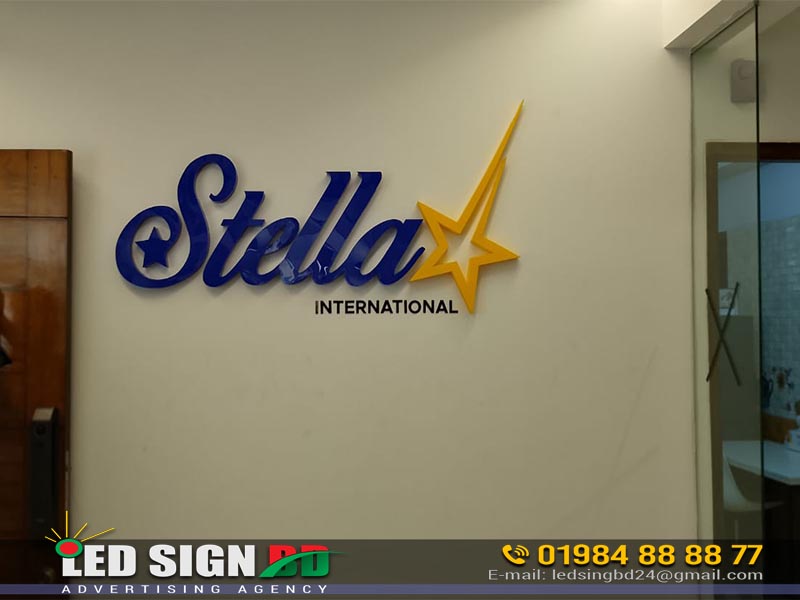
Step 6: Assemble the Sign Board – Fix the acrylic letters onto the base using high-bond tape or silicone. For large letters, screws provide extra stability. Align each letter properly for a professional look. This step forms the final appearance of the sign.
Step 7: Test the Lighting – Switch on the LED board to check brightness. Look for dim spots or flickering sections. Adjust LED module placement if needed. Testing ensures correct illumination before installation.
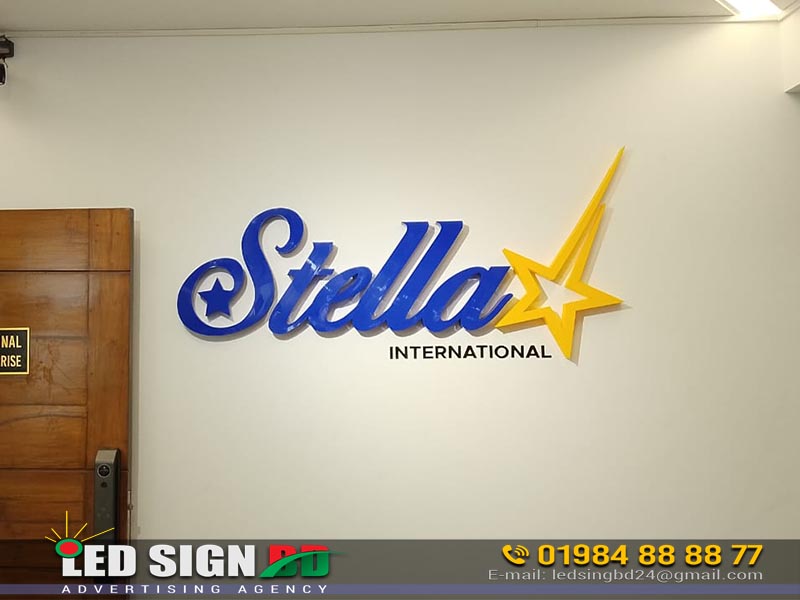
Step 8: Install the LED Sign Board – Mount the finished sign on the wall or storefront. Use screws and support brackets for stability. Ensure the board sits level and secure. A strong installation guarantees long-term display performance.
Benefits of Making an LED Sign Board
LED sign boards help businesses stand out. They offer high brightness and low energy usage. These signs also last longer than traditional lighting options. The lightweight acrylic and PVC materials make them easy to maintain. Even in crowded commercial areas, LED signs improve visibility and attract customers effectively.